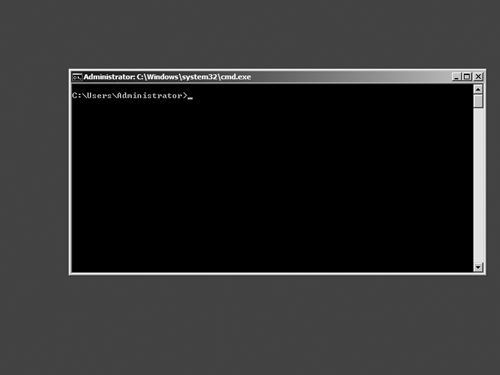
Once the OS has been installed and password set you are then left with a with a command prompt slightly reminiscent of a Linux server with only a terminal to use.
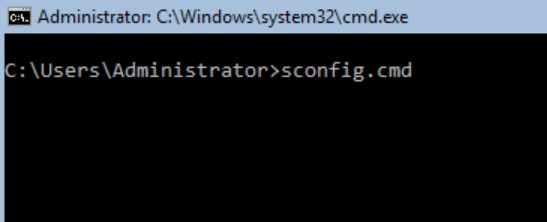
This is often where the GUI friendly Windows admin gets scary away and reverts back to a Windows standard installation or third party addons to make it feel more useful. below I’ll explain and few basic sets for getting started with windows core.Once installed you’ll need to configure some basic settings for the server to be integrated in to your environment. This is where sconfig.cmd comes in handy.
- Type sconfig.cmd and press enter
2. Once executed you will be greeted by a blue background with a number of options to configure all those initial settings like the domain, IP, update settings, hostname, etc.

3. From here simply select the desired options and follow the prompts
I’m not going to list detailed steps for everything but here are some Powershell commands that can be helpful in addition or as an alternative to configuring a core server with sconfig.
Change the display resolution:
Set-DisplayResolution 1280 720
Setting the date and time zone:
tzutil /l
Once you identified the correct zone add it to the brackets on the command
 set-timezone "W. Europe Standard Time"
set-date -date 28/12/2018 10:00 AM"
Set the IP address:
 New-NetIPAddress -InterfaceAlias ethernet0 -IPaddress 192.168.10.100 -PrefixLength 24 -DefaultGateway 192.168.10.1
Set-DnsClientServerAddress -InterfaceAlias ethernet0 -ServerAddresses ("192.168.10.2,192.168.10.3")
Rename server:
-NewName newdcserver01-Restart
Enable Powershell Remoting:
Enable-PSRemoting –force
View existing firewall rules:
Get-NetFirewallRule | ft
Search for a specific rule name:
Get-NetFirewallRule -name "*Remote*" | ft
Enable Ping:
 Set-NetFirewallRule -Name FPS-ICMP4-ERQ-In -Enabled True
Set-NetFirewallRule -Name FPS-ICMP4-ERQ-Out -Enabled True
Enable File and Printer sharing:
Enable-NetFirewallRule -DisplayGroup "File and Printer Sharing"
Allow all traffic rule (For testing purposes) :
 New-NetFirewallRule -DisplayName "Allow All Traffic" -Direction Outbound -Action Allow
New-NetFirewallRule -DisplayName "Allow All Traffic" -Direction Inbound -Action Allow
Remove the rule with:
Remove-NetFirewallRule -DisplayName "Allow All Traffic"
Confirm with:
Get-NetFirewallRule -DisplayName "Allow*" | ft
