Over the last year the team has been working on making custom web portal solutions to solve a variety of automation challenges. The cornerstone of these web applications is Django. We’ve been able to use Django to provide a number of ways for less technical users to work with their services with the ease of a web front end accessible from all machines and browsers.
In this article I’ll describe the simple steps to start a new Django project using a Windows PC.
Requirements:
– Windows 10
– Standard installation of Python 3.x https://www.python.org/downloads/windows/
– Standard installation of Visual Studio Code – https://code.visualstudio.com/
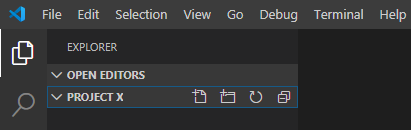
- Create a folder in the desired location to save this new project
- Open Visual Studio Code and from file choose open folder and select the location you just created. It should like something like the following.
3. From the Visual Studio Code menu select Terminal > New Terminal
A terminal window will be added to the console
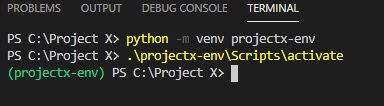
4. You need to first start by creating a virtual environment in python. By working with virtual environments you can work easily switch between different projects you might be working on in isolated environments.
Use the command below
python -m venv VENVIRONMENTNAME
5. Next you need to activate the environment to start working in it.
VENVIRONMENTNAME\Scripts\activate
6. Change in to the environment directory and install Django using pip
cd .\VENVIRONMENTNAME\
pip install django
7. Start a new Django project and change in to the project directory
django-admin startproject PROJECTNAME
cd .\PROJECTNAME
django-admin startapp APPNAME
python manage.py migrate
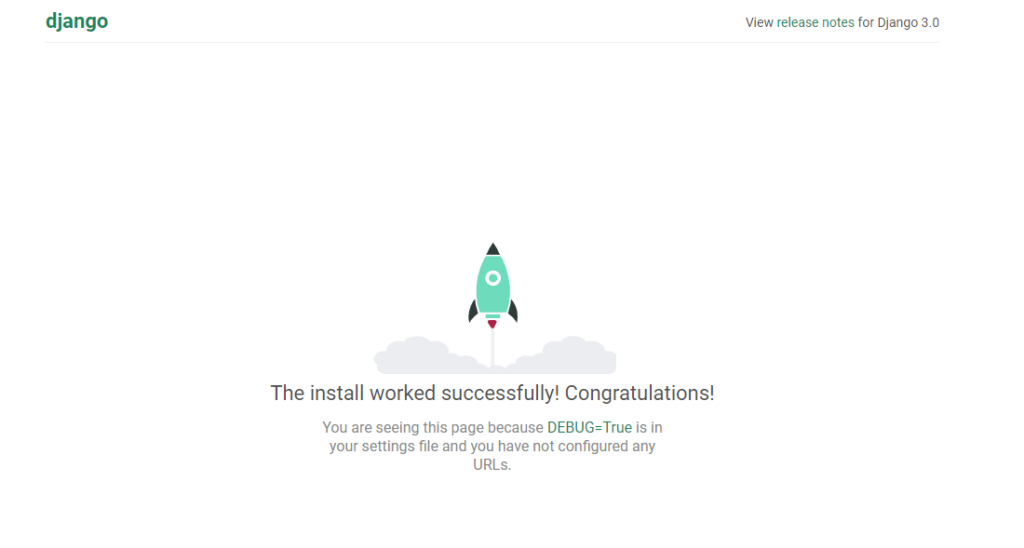
8. Lastly to start the development server use the command
python manage.py runserver
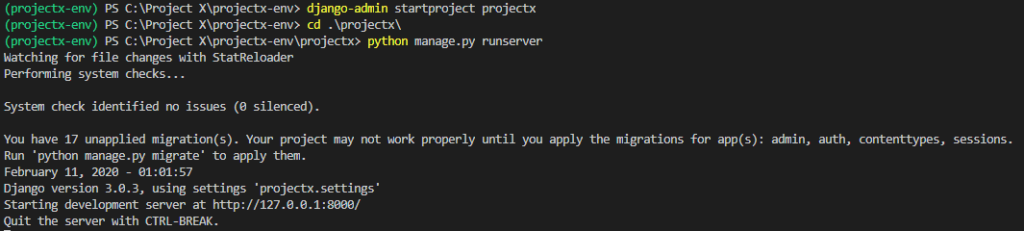
You should now have a fully running blank web app running on your local machine – Navigate to http://127.0.0.1:8000/ to comfirm